Cuisine

Homemade dulse-popcorn recipe

What marks the holidays better than cooking delicious treats at home with the family? Looking for a fun easy snack for your next home movie night, look no further. We recently tested combining dulse seaweed with homemade popcorn and it was amazing! 

Dulse has been called the bacon of the sea because of its savory and salty flavor, especially once cooked and/or fried. Homemade popcorn is the perfect opportunity to capitalize on this flavor without any specialized fry equipment. You will find that the dulse and oil alone are enough to add a strong savory flavor to the popcorn, and no it won’t taste fishy. However, if you want to add more traditional flavors (salt and butter) you won’t need to add much. 

You can order dulse straight from the farm to your door here

Ingredients

  • 2 tablespoons of oil

  • 1/3 cup popcorn kernels

  • 1-2 oz of dulse


Directions (for 1/3 cup uncooked popcorn)

  1. Heat oil in a large pot on medium heat. We used Thrive algae oil. This oil is high in omega 3s and has a relatively high smoke point.

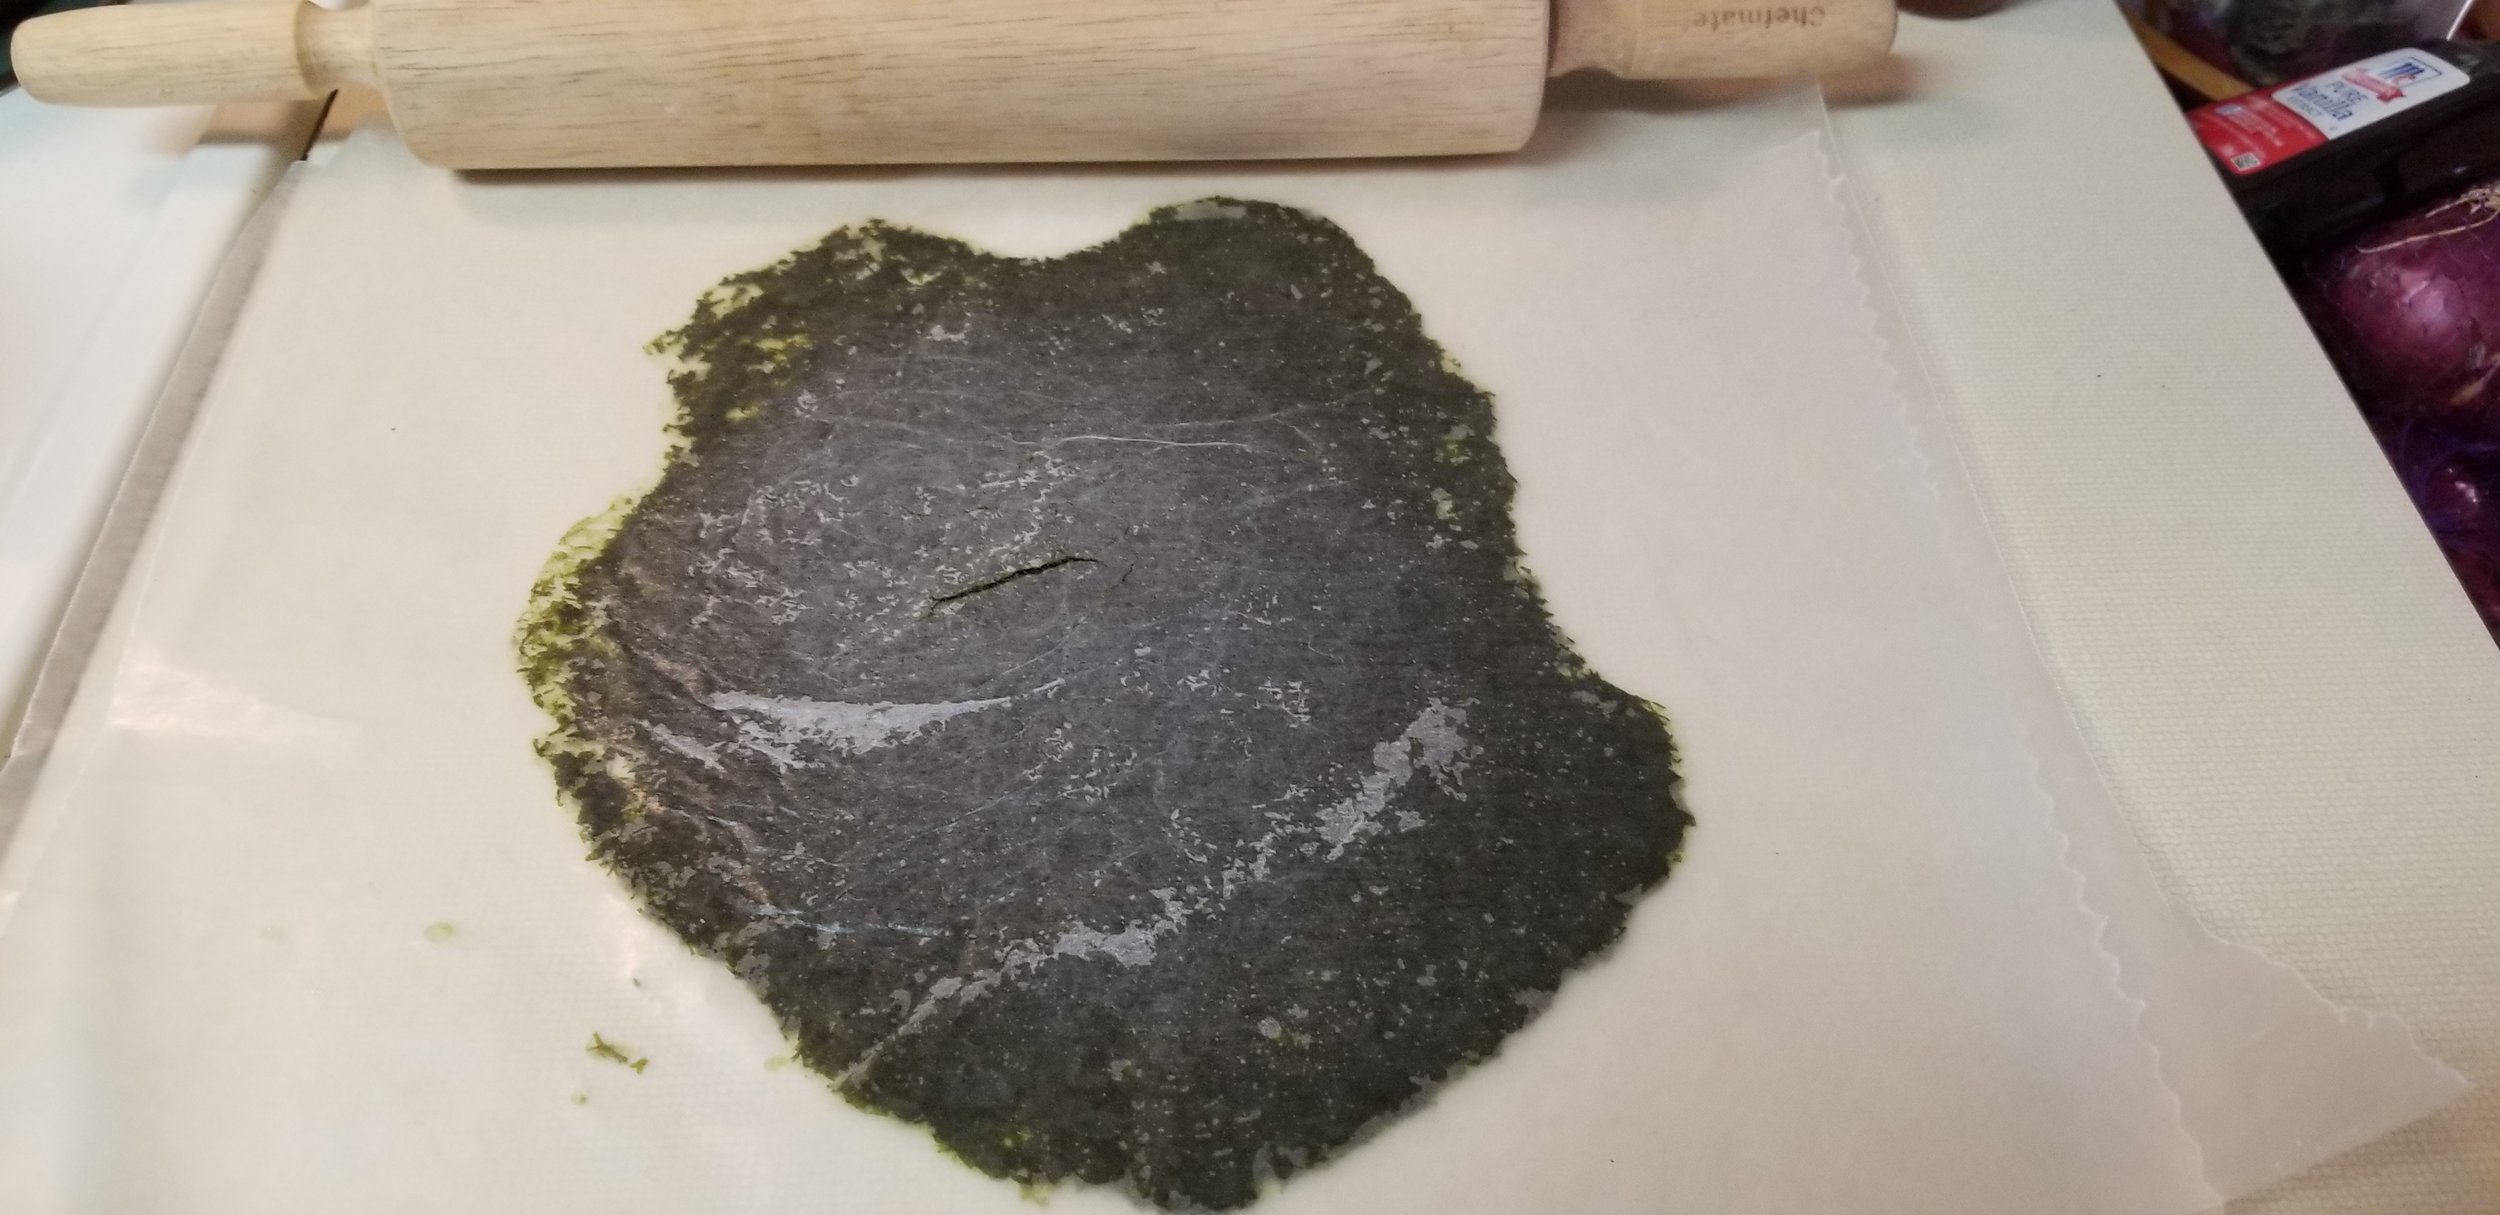
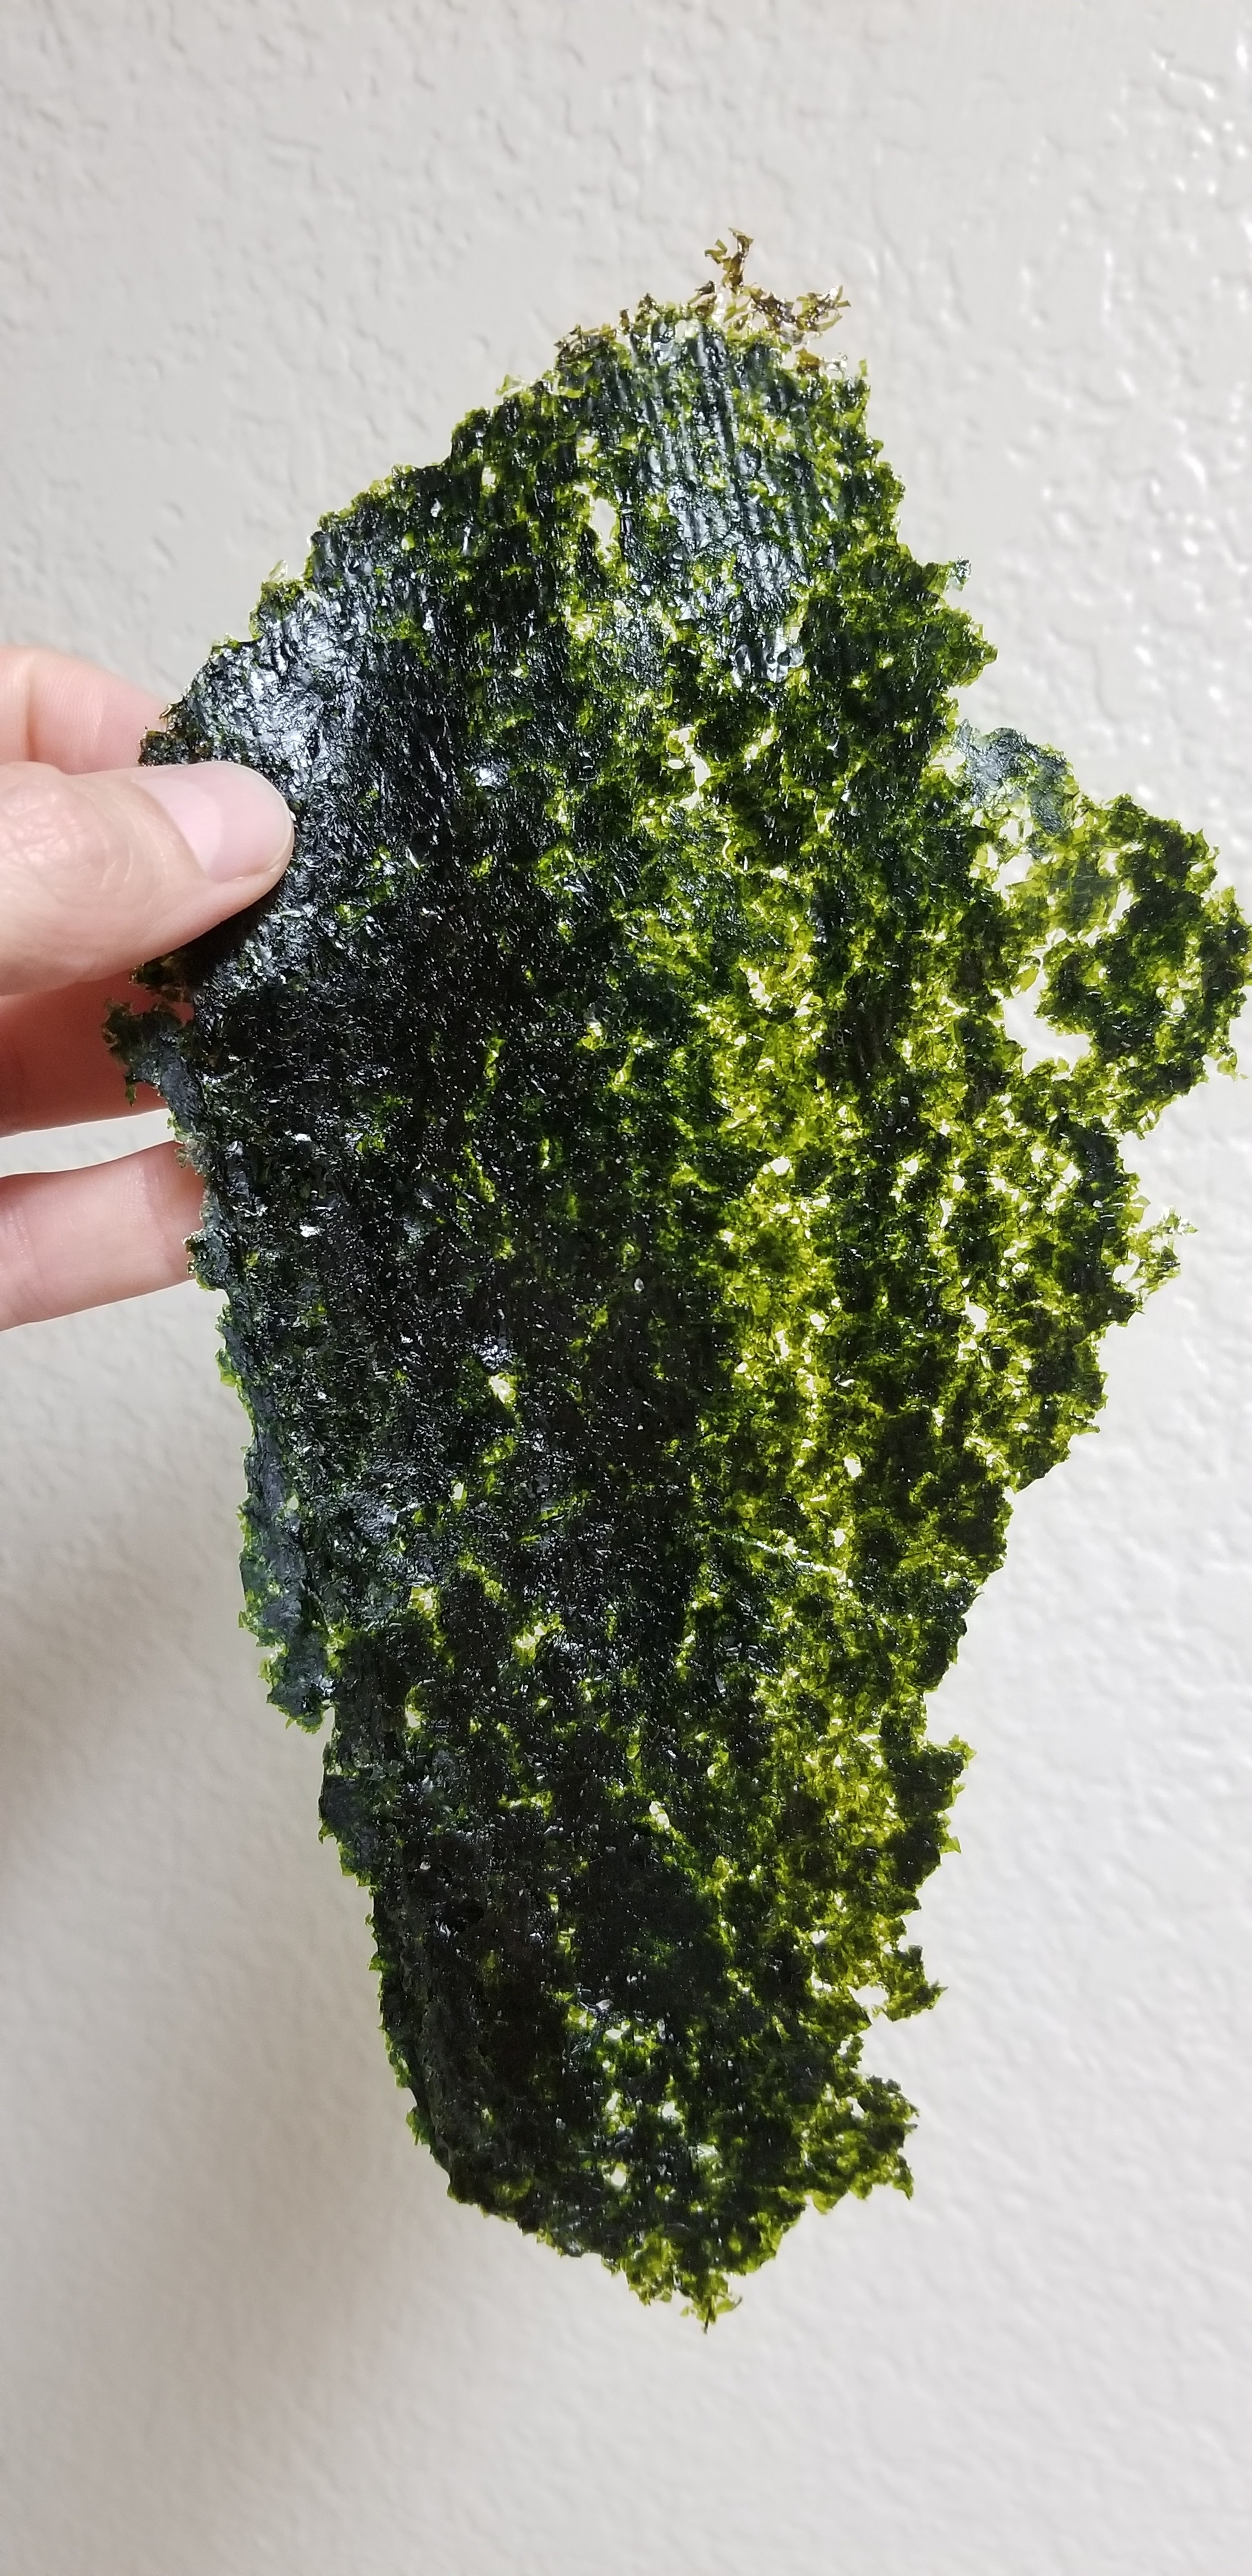
  2. Rinse dulse under cold fresh water and pat dry with towels.

  3. Place a few (2-3) popcorn kernels in the pot. Once they pop, the oil is to the correct temperature. Remove the popped corn and remove the pot from the heat.

  4. Add in the kernels and dulse. Have a lid ready and cover after adding the dulse. The moisture in the dulse will cause splatter so make sure to cover right away.

  5. Let the kernels and dulse sit for 1 minute off the heat then place the pot back onto the heat.

  6. After the popcorn stops popping remove from heat and transfer to a serving bowl. Mix up the fried dulse and popcorn and give it a try. If you find you want more flavor…proceed to step 7.

  7. Add some butter and extra seasoning (garlic, salt, pepper) to the heated pot and let melt. Then drizzle on the popcorn and mix together.

  8. Enjoy!

Thrive algae oil

Thrive algae oil

Pot with test kernels and dulse

Pot with test kernels and dulse

Watch the first California Seaweed Festival now! (Nov. 16-21, 2020)

For years people have come from all over the world to places like SeaWorld or the Monterey Bay Aquarium to see the rich and diverse California sea life. One of California’s crown jewels of the ocean has been seaweed. The giant kelp is the posterchild of a healthy and robust marine ecosystem. However, seaweed is largely ignored despite its critical role in the ecosystem and numerous human uses. Not anymore!

This week the first California Seaweed Festival kicked off! Due to the COVID pandemic, the festival is being held virtually, and for 6 days a number of speakers will talk on various seaweed topics.

Day 1: Seaweed Farming

Day 2: Seaweed as Food

Day3: Seaweed Science

Day 4: Seaweed Art

Day 5: Sustainable Seaweed Innovation

Day 6: Community Involvement & Seaweed Fun

The festival’s mission statement is,

“We want to share the beauty and diversity of seaweeds on our coasts, how seaweeds enrich coastal environments making seawater cleaner and a better habitat for hundreds of other species. We are inspired by all the ways that people use seaweeds, for food, fuel, climate resilience, awe and fun. Many Californians don’t know about the hundreds of kinds of seaweeds that flourish on our coast. So, with help from California Sea Grant, we organized the first California Seaweed Festival in 2020, to celebrate all things seaweed in California! “

You can visit the festival website here

Watch the talks via the festival’s youtube channel here

Chef Jacob Harth demonstrates how to harvest and cook seaweeds right at the beach!

Erizo restaurant located in Portland Oregon offers an extensive 20-course tasting menu featuring impeccable and sustainably sourced seafood prepared over a wood fire. They say that only the highest quality products are hand-selected by their chefs for their menu each week. Many of their local ingredients are foraged by their own chefs.

Chef Jacob Harth demonstrates how he selects a variety of seaweeds straight from the ocean and turns it into a world-class broth right at the beach.

This video was originally featured on Eater.com

The Dutch Weed Burger!

Now here is a company we can get behind! The Dutch Weed Burger is a company in the Netherlands that serves vegetarian fast food with a twist. They infuse their creations with macro and micro algae, and their menu sounds creatively delicious.

The company manifesto reads, “Welcome to the House of Seaweed, a place where everybody prospers and everybody wins. Where we live and let live. Because our food is grown, not born. We bring the fun back in fundamentalism by serving you guilt-free pleasures. This is the new paradigm: 100% plant-based, 100% delicious. Be an agent of change and choose plants on your plate, as often as you can. For the animals. For the planet.”

Here are some of their menu options that use algae. Click the link and check it our for yourself, they look amazing.

The burger - The patty is made with royal kombu and soya chips, while the bun is loaded with the micro-alga Chlorella.

Weed Balls - A variety of mushrooms seasoned with kelp flakes, breaded and fried.

Sea nuggets - Balls of mixed beans and micro-algae, crunchy on the outside while soft inside.

Weed dog - An incredible looking hot dog enriched with kombu flakes and a green algae mustard sauce.

This is a genius business model. Fast-healthy, good for the body good for the planet while also creating unique flavors that are completely absent in the competition.

How to make your own roasted seaweed snacks.

We love snacking on roasted nori sheets, you know the ones you can buy in stores that are little rectangle sheets with various flavorings. We wanted to see if we could make our own from raw seaweeds. It’s surprisingly easy! You can make sushi roll or roast and season for a snack.

We tried three different kinds of seaweed: nori, dulse, and sea lettuce. Then tried two different drying techniques, oven, and dehydrator.

Results: Nori was the best tasting with a better crispy crunchy mouthfeel. Nori also had the most shrinkage so a slower drying time on low heat works better for keeping it in one single sheet. Sea lettuce made a really good crunchy sheet, but didn’t dissolve very well when eating and felt a little more papery. Dulse also felt a little more papery compared to nori but had a similar taste. We did this experiment in a single shot from known nori recipes. For dulse and sea lettuce we suggest playing around with blanching, drying, cooking times, and temperatures for even better results.

Directions


  1. Blanch the seaweeds in boiling water for about a minute. This helps break down the cell walls making the seaweed more tender. Red and brown seaweeds will turn bright green during this process.

  2. Puree the blanched seaweed. Make sure to cool before sealing to avoid pressure buildup.

  3. Strain seaweed thought fine mesh or coffee filter.

  4. Press seaweed on either silicone mats (for oven) or wax paper (for a dehydrator).

  5. Cover with wax paper and flatten into a thin sheet with a rolling pin

  6. Dry- For a dehydrator dry on low (~95F) for up to 8 hrs. For an oven dry at 260F for 3 hrs. When dry the seaweed will be in a flexible and crunchy sheet.

  7. Mix your favorite oils (we used sesame and olive) and brush on one side of seaweed sheet.

  8. Sprinkle on any salts or seasoning you wish.

  9. Place seaweed sheet on a backing sheet oil side up and broil on low for just a few minutes. If you burn the seaweed it will taste terrible.

  10. Now eat!

 
20190708_175408.jpg
20190709_064222.jpg

Why do cooked seaweeds turn green?

Seaweeds, like any vegetable, can be prepared in a number of ways. They can be eaten raw, fried, baked, boiled, and dried. Each method changes the texture, taste, and in some cases, color.

If you haven’t seen the magic like color change of cooked seaweeds, watch the video below.

Here you see someone blanching kelp, where it turns from brown to bright green in seconds. This happens whenever a brown or red seaweed is heated, but why? As you probably remember from high school biology, plants get their green color from the light harvesting pigment chlorophyll. Seaweeds are no different, red, green, and brown seaweeds contain chlorophyll. However, brown and red seaweeds have additional pigments that give them a different colors; red seaweeds have phycoerythrin while brown seaweeds have fucoxanthin (image below).

It turns out that chlorophyll has a higher melting point (~150 C) than phycoerythrin and fucoxanthin. When Seaweeds are added to boiling water (100 C) the other pigments melt and dissolve leaving behind the bright green chlorophyll. This trick is used for the iconic seaweed salad (wakame). Just as in the video above, wakame starts out brown and is blanched to attain the attractive bright green color.

seaweed pigments.PNG

Artisan salt makers use seaweed in Japan.

In interesting fact, the Japanese government shut down the making of salt from 1905 to 1997. The government decreed salt making to be its sole domain, partly to develop the domestic salt industry and partly to fund the Russo-Japanese War of 1904-05.

Fortunately salt makers in Japan are returning to their traditional roots. Moshioyaki, an ancient method dating back to the first half of the Kofun Period (220-552), is thought to be one of the oldest salt-making techniques in Japan. Moshioyaki requires two ingredients, concentrated seawater and hondawara seaweed.

modern versions of moshio salt are made by boiling down concentrated seawater in steel vats with a large muslin bag full of sun-dried hondawara seaweed to extract varying salt grades. First seawater is pumped up into a vat to settle for a few days, then the water is pumped out leaving the large particles at the bottom. Then the water is “showered” for 1-2 weeks to remove calcium. During this process water trickles down fine mesh synthetic nets onto corrugated plastic gutters. As the water is cycled back into the shower system, calcium deposits to the gutters. The now concentrated water is heated and as the water evaporates, the resulting wet salt is placed into muslin bags and left it to dry out naturally.

moshio salt has been gaining popularity in restaurants throughout Japan and serves as an excellent example of how seaweeds can transform something so simple into something richer.

Seaweeds are one of the best things to eat to help preserve biodiversity and the planet

Last month, the United Nations released a report on biodiversity and ecosystems that found 1 million plant and animal species are currently facing extinction.

The World Wildlife Fund argues dietary monotony leads to a decline in biodiversity since many animals can’t thrive on land that has been transformed to farmlands. Did you know that 75% of the global food supply comes from just 12 plant and five animal species?

In response to this issue, the WWF published “Future 50 Foods,” a list of “foods we should eat more of because they are nutritious, have a lower impact on our planet than animal-based foods, can be affordable, accessible, and taste good.”

On this list there are two seaweed recommendations, wakame, and nori. While the authors clearly selected these on market availability, the same arguments can be made for a variety of seaweeds available by seaweed farms and local foragers.

Variety is the spice of life, but now it seems like it also might be what saves species diversity.

seaweed pasta sauce

Chef Patrick Ho from Fortuna Hotel Hanoi shares his signature dish, seaweed pasta with scallops. What makes this dish so different is that it uses seaweed sauce instead of simply adding seaweed flakes or noodles. More and more chefs have been creating seaweed butter and sauces. The best part is, these kinds of butter and sauces are incredibly easy to make and a great way to get seaweed into your diet to reap all those health benefits.


To make seaweed sauce:

- Put the seaweed into the pot at a medium heat

- When the seaweed is becoming soggy, reduce to lower heat and add water until it boils.

- Add a little salt to taste.

To make the seaweed dish:

- Cook the pasta for 3-4 minutes in boiling water.

- Cut white radish and Seaweed Nori into small pieces.

- Fry the scallops in the oil until they are just golden brown.

- Sauté the pasta and scallops and then add the seaweed sauce.


Read full article here from vietnam news

Seaweed cookies

Kate Hamm is the pastry chef for Bao Bao and Lio resturants in Portland, Maine. She recently revealed her recipe for seaweed cookies. These aren’t your traditional sweet cookies, these are soft and savory sablé cookies (sablé is French for sandy). Once the cookie is made it can be topped by a number of items, in this case, caviar.

Ingredients

1/3 cup cake flour

2/3 cup all purpose flour

3 tbls. powdered sugar

1 stick butter

2 tbls. dried and ground seaweed (preferably dulse, wakame, nori, kombu)

Directions

Pulse flours, sugar, and powdered seaweed in food processor until well mixed. Add butter and pulse until you have a dough. Roll into a log. Wrap in plastic and refrigerate for 1 -8 hours (the longer the better).

Once the log of dough is solid, slice into coins about 1/8" thick. Brush with water and top with a flake or two of sea salt. Bake in a 350 degree oven for about 10 minutes (edges should be gold).

Once cool, top with creme fraiche, caviar or trout roe, and minced preserved lemon, or other toppings of your choice.  :)

Watch the demo below

Roast Chicken With Crunchy Seaweed and Potatoes

Just the other night a few of us were talking about making fried chicken with dulse, and potentially how good it could be. Lo and behold, today we found a recipe for roasted chicken with crunchy dulse!

This recipe calls for kelp and dulse and is an excellent twist on the traditional roasted chicken.

This recipe comes from MELISSA CLARK written in the cooking section of the New York Times

INGREDIENTS

  • 4 tablespoons unsalted butter, softened

  • 1 tablespoon red dulse flakes or powder

  • 1 teaspoon finely grated lemon zest plus 1 teaspoon lemon juice

  • 1 ¼ teaspoons kosher salt

  • 1 (3 1/2- to 4-pound) whole chicken, patted dry

  • 1 small bunch fresh herbs, such as rosemary, thyme or sage

  • 1 pound baby potatoes, halved, or quartered if large

  • 1 small red onion, halved and thinly sliced

  • 2 cups ready-cut (or slaw-cut) kelp seaweed (about 6 ounces), water lightly squeezed out (see Note)

  • 2 tablespoons extra-virgin olive oil

  • Large pinch of red-pepper flakes

PREPARATION

  1. In a small bowl, stir together softened butter, dulse, lemon zest and juice, and 3/4 teaspoon salt. Rub all over chicken, including the cavity, underneath the skin, then on top of the skin. Stuff herb bunch into cavity and transfer chicken to a rimmed baking sheet. Let marinate at least 1 hour or up to overnight in the refrigerator.

  2. Heat oven to 425 degrees and place a rack in the middle. Remove chicken from refrigerator and let sit at room temperature while you prepare vegetables.

  3. In a large bowl, toss together potatoes, onion, kelp, oil, red-pepper flakes and remaining 1/2 teaspoon salt. Spread mixture out surrounding the chicken on the baking sheet.

  4. Roast, tossing vegetables every 20 minutes, until chicken is browned and a thermometer inserted into thickest portion of thigh reads 160 degrees, about 1 hour. Remove from oven, transfer chicken to a cutting board and tent loosely with foil for 10 minutes.

  5. Transfer roasted vegetables to a serving platter and top with chicken and any remaining juices from baking sheet. Serve immediately.

Nori and kelp butter recipes

Did you know you can mix seaweed with melted butter to enhance the taste of a variety of dishes? We have provided two examples using two different varieties of seaweed and on two very different dishes. The butter itself is incredibly easy to make by simply grinding (if dry) or pureeing (if fresh/ wet) the seaweed of choice and mixing with melted butter. These recipes were published in Bon Appétit.

Note* the kelp and nori recipes assume using dry seaweed as that’s what is mostly available at the store, however, using fresh seaweed as puree will likely have an even better taste and texture.

  1. Scallops with Nori Brown Butter and Dill

    1. Melt butter in a small saucepan over medium heat and cook, stirring often, until butter foams, then browns (do not let it burn), 5–8 minutes. Transfer to a medium bowl.

    2. Pulse nori and soaking water in a food processor to a coarse paste. Stir into brown butter along with chopped dill; season with salt and keep nori brown butter warm.

    3. cook and serve scallops with nori brown butter, dill sprigs, and lemons for squeezing over.

  2. Blackened Cabbage with Kelp Brown Butter

    1. Grind kombu in a spice mill or with a mortar and pestle to a fine powder. (You should have about ¾ tsp.) Heat oil in a medium heavy skillet over medium-high and add half of cabbage, cut side down. Cook cabbage, undisturbed, until underside is almost blackened (the edge of the sides will start to brown as well), 10–15 minutes.

    2. Reduce heat to medium-low, add butter to skillet, and shake pan to help butter get in, around, and under cabbage. As soon as butter is melted and foaming, tilt skillet toward you and spoon browning butter over cabbage, being sure to bathe the area around the core.

soy sauce made from fermented seaweed instead of soy

Motoharu Uchida, a fisheries researcher, has created a fermented seaweed version of soy sauce. The story behind the discovery is amusing, Motoharu had forgotten that he left a batch of seaweed in his refrigerator. The seaweed had turned rancid, but when he poured the rotten glob down the sink, a faint sweet smell arose. This lead to the 15-year long journey in creating a soy sauce made from fermented seaweeds. Upon final success, he named his sauce “nori shoyu” (seaweed soy sauce).

The resulting sauce is weaker than traditional soy sauce, however, the umami savory flavor is said to last longer. The seaweed soy sauce contains no wheat or soybeans which means it’s an excellent alternative for individuals with certain food allergies and could reduce the need for soy.

Read the entire story from here

Marvel's Eat the Universe: aquatic-themed sandwich with fresh seaweed

This is fun! On a new digital series, Marvel’s Eat the Universe, celebrity chef Justin Warner is joined by special guests to craft unique, fun dishes inspired by Marvel characters and stories!

In this episode, chef Brian Tsao creates an aquatic-themed sandwich inspired by Namor the Sub-Mariner! The sandwich uses fresh seaweed along with fried bay scallops, shrimp, calamari, oysters, and white fish.

For the directions follow the link here and you can watch the video below.

Portland chef says, "Throw some seaweed in that!"

Portland chef Mike Wylie suggests using dried seaweed like bay leaves in your everyday cooking. You’ll be doing the local, sustainable seaweed economy a big favor.

At a networking event “Why Seaweed Matters” Wylie said that when he walks through any of the Big Tree Hospitality kitchens he co-owns and operates, and he sees a pot of anything simmering on the stove, “I’m like ‘throw some seaweed in that!’ because it makes most things taste better.” Seaweed deepens flavor in dishes stemming from many other cultures, everything from vegetable soup and tomato sauce to rice and beans and meaty braises.

When including dried seaweed in your everyday cooking, for every quart of liquid, add a 2- by 2-inch piece of dried seaweed, before setting the pot to simmer. The rule of thumb is that most seaweed has done its work after 30-40 minutes in the pot.

You can read more about “why kelp matters” on the FB event page

Seaweed takes the number one spot on Martha Stewart's top 5 food trends

Martha Stewart’s magazine featured an article on forecasting the top 5 food trends. Taking the number one spot was seaweed!

The article talks about the Summer Fancy Food Show held last year. At the show seaweed was on full display. Maine-based seaweed company Ocean’s Balance made a splash by rolling out two new products: jarred kelp purée and Japanese inspired seaweed sprinkles, which can be used as a savory topping for everything from rice to toast.

Shortly after the Summer Fancy Food Show, Oceans Balance received a $100,000 prize for its edible seaweed products. The award comes from “Greenlight Maine,” a T.V. show that promotes small businesses and startups in the region.

Seaweeds are gaining the attention of chefs, restaurants, and entrepreneurs around the country. It’s no wonder why it came up as the number one food trend.

Seaweed Pie Recipe for Pi Day (3.14)

Today is march 14th (3.14), affectionately known as Pi day, representing the mathematical constant π approximately equal to 3.14159. The day is typically celebrated, in some circles (pun intended), by making and eating pies. Therefore, we found a seaweed pie recipe from East Coast Living.

The pie is a blanc mange using Irish moss. Follow the link for the full recipe.

Seaweed Beers are Gaining in Popularity

Beers made with seaweed are becoming increasing popular.

Great Lakes Brewing just announced their Irish stout with dulse for saint patrick's day. Meanwhile, on the other side of the world in Australia, Brisbane’s Newstead Brewing Co . just announced their new seaweed beer “Moreton Bae” which contains Ulva (sea lettuce).

It’s unclear if these seaweeds are simply flavoring, or if the sugars from seaweed are being used in the fermentation process.

Either way, it’s a clever use of a sustainable recourse that could tap into a very large market. The Brewers Association reported: retail dollar sales of craft beers increased 8%, up to $26.0 billion, and now account for more than 23% of the $111.4 billion U.S. beer market.

Pickled Kelp Recipe

This sounds so good!

Apparently in Alaska, pickled kelp is a treat sold in stores. They use bullwhip kelp (Nereocystis), which is a brown alga that grows as one hollow stalk, or stipe, through the water column. The long flexible stalk resembles an enlarged whip, which is where the common name, bullwhip kelp, came from. The hollow stalk is cut into rings and pickled.

We can’t wait to try this with other types of seaweed.

Here is a link to an article in Alaska floats my boat, that outlines the process step by step. (Instructions below)

Get your canning supplies ready to go: 

  • A large pot with a lid to process the jars in, and enough water to cover the jars by at least an inch

  • A small pot half full of water to simmer the lids in

  • A large pot to boil the kelp mixture in

  • Colander  

  • Clean, hot pint and/or half-pint jars (keep hot in simmering water or in the oven)  This recipe fills about six pints or twelve half pints.

  • Ladle, spoons, canning funnel, jar grabber, towels to set jars on, lid magnet, cloth to wipe rims, hot pads

If you haven't canned before then please check with your extension service or a reference like the Ball Blue Book of Canning to learn the basics.


Bread and Butter Kelp Pickles:  

  • 3 quarts bull kelp stipe sliced into 1/4" to 1/2" thick "O's"

  • 2 large onions chopped or sliced

  • 1/4 cup canning salt

  • 1 pint vinegar 5% acidity

  • 1 cup sugar

  • 1 teaspoon celery seeds

  • 1 teaspoon mustard seeds

  • 1 teaspoon ground ginger

  • 1 teaspoon peppercorns

  • 1 teaspoon turmeric

  • 1/2 teaspoon cinnamon

Combine kelp and onion in a large bowl. Sprinkle with canning salt, stir the salt through the kelp and onion. Let stand for one hour.  Rinse well with fresh water.

Get your big pot of water for processing going so that it will be at a boil when your jars are packed. Put new, clean jar lids in the little pot, and start bringing them up to a simmer when you start boiling the kelp.

Measure the sugar and spices, stirring the spices into the sugar to prevent any clumping. Combine sugar and spices with vinegar in a large pot and bring to a boil to make the syrup.

Add the rinsed, drained kelp and onions to the hot syrup and bring to a boil again. 

When you first add the kelp to the syrup it will turn bright green! 

Pack the kelp and onions into a clean, hot jar. Use the back of a spoon to press the kelp in.  Ladle in syrup to within 1/2 inch of the top. If the kelp is packed loosely then you will run out of syrup before all of the jars are filled, so pack 'em in.

Wipe the rim, put the lid and ring on, and proceed to the next jar. 

Process the jars in a boiling water bath for 10 minutes. Remove the jars from the bath, set upright about one inch apart on a folded towel away from drafts to cool. 

Check that all of the jars sealed. If any didn't seal then put them in the refrigerator and eat the pickles within a few weeks.

Label the jars with contents and date. 

The kelp pickles can be eaten right away, but the flavor is better after a week or so.